Friday, December 31, 2010

Scraping and Sanding Done

I managed to make some more headway over the last couple of days. I got stuck in and finished scraping the bulk of the glue from the interior.


I launched into it again today. Using a random orbital sander (borrowed from my father-in-law), I sanded the left over glue and managed to get that all done as well. The bow an stern were a bit too tight to get into with the sander, so I further scraped and hand sanded as best I could.


Now she's pretty much ready for interior epoxy and installation of the keel fillet, prior to glassing the inside. I'm back to work tomorrow so that will have to be a job for Tuesday (weather permitting).


Wednesday, December 29, 2010

Start Scraping Interior

With it being such a busy time of the year, I haven't gotten as far as I'd hoped (a familiar theme). There's been the usual insanity with Christmas preparation/family stuff, but I've been lucky enough to get the whole week off from Christmas day. Unfortunately the weather has also been pretty crappy lately so I've lost a lot of time (oh, for a decent boat-shed), however I have made some small progress.

I attached those temporary gunwales and used some left over cedar strips for spreader sticks. These I stapled to the gunwales and they seem to work ok.


I left the molds sitting in the hull, hopefully they can help maintain the shape a bit.


Yesterday I spent loads of time scraping glue from the inside of the hull. What a tedious, mind-numbing process that is. A couple of essential tools for the job are an ipod and a limited intellect (both of which I happen to possess). I found a narrowish chisel to be the best tool, but I couldn't help sometimes gouging the planking with the corners of the chisel whilst ploughing away in a drooling stupor. Anyway, I somehow managed to get about half of the hull scraped. In the photo below, the scraped section appears to be a little bit rough but that's just an illusion. It is actually quite rough. Hopefully once I sand the interior, it will look somewhat better.


This is how far I got. Hopefully it won't take too long to get it ready for sanding. I'm pretty keen to get the inside all cleaned up and fiber glassed. The last thing I 'd want to happen now would be for water to get in or the hull to start distorting.

Wednesday, December 15, 2010

Finally, Some Progress

At last I can try and make some progress on the poor old canoe. She looked pretty forlorn out the back under her tarp. There were even vine type weeds growing through her (I feel quite ashamed).


I've been trying to work out how to rig a tarp to form a decent shelter that I can work under, but after my disastrous earlier attempts I decided to go for something a bit more elemental instead (namely, the big Jacaranda tree out back). Not very waterproof but it is light and airy.


So with the family out for the day I got stuck in and I'm happy to say that I had a really productive day. I was worried that the hull might have distorted because of having the outside glassed and the inside still raw timber, but it actually didn't look any different from the way it did when I last tucked her away. So lucky (the test panels warped horribly after a few weeks when I'd only glassed the one side). I was also stoked to find that the hull popped straight off the molds without any forcing or swearing at all.


With the hull removed, I quickly got the molds off and made up a cradle. I modified the strongback (made it more level and lower), then mounted the cradle to the strongback and fitted some carpet to protect the hull.


Then I flipped the hull over and placed it into the cradle. I used a grinder to trim the fiberglass/epoxy excess around the gunwale. It's so cool to finally have something that actually looks like a canoe.


I also managed to rip a scrap bit of timber for temporary gunwales, which I'll fit tomorrow. In the mean time, I've slipped the molds back into place to help maintain the shape. Once the temporary gunwales are fitted, and some spreader sticks installed, I can get on with scraping all that bloody glue off the interior (not looking forward to that).


After this eventful day I sat in the yard with a couple of beers, staring at my new boat and starting to think that it might just work out ok after all. Can't wait until tomorrow....

Sunday, October 24, 2010

I'm Baaaack.

First up, I must apologise for being so quiet over the last few months. Much has been happening (unfortunately not on the canoe), plus I had some issues with getting into the site. For a long time, I just couldn't get the site to load for some reason. I thought it might've been due to my putting so many photos on the site, but after replacing our modem for a faster one, everything magically started working again. (Duh!!!) It won't be so long between posts from now on.

As for the other comment about much going on, I have been grappling with a 'mid-life career crisis'. Long story short, I have started an online university degree. This has proven to be much more work than I had anticipated, and so the canoe has been forced to take a back seat yet again. She has been carried around to the back yard (oh yeah, we had to buy a new car as well, so the canoe got evicted from the car port), bundled up and tied down. I'm currently on a couple of months holidays, and I had hoped to be able to work on both of these projects simultaneously, but this has proved to be impractical (especially whilst also trying to fulfill my usual family obligations). It's so incredibly frustrating, but I have a cunning plan. This current unit only has about another six weeks to go and the next study period runs from November to about February next year. I'm going to take that study period off so that I can focus solely on getting the canoe finished. Then I can resume my studies next year, and start using the canoe in whatever opportunities I get. Anyway, that's the current plan.

I did manage to get the outside of the canoe fiber glassed and it's ready to pop off the molds. I've discovered that I'm a pretty horrible fiber glasser. The epoxy went on relatively smoothly, but I've come to the conclusion that fiber glass cloth was invented by the devil. No matter how careful I was, I just couldn't get the cloth to lay flat. She looks a bit like a Frankenstein job to me, but it should prove strong enough. It really decides the fact that I'm going to have to use fairing powder to get the hull nice and smooth before painting. No real problem I guess. Here's a couple of photos.


Tuesday, July 6, 2010

Waiting to Fiber Glass

Just been messing around with odd jobs whilst waiting for a decent weather window to fiber glass the outside of the hull.

The photos below show my experiment with the filleting powder, using the first (failed) test panel. It worked out really well, the fillets are rock hard.


I also decided to get on with the second test panel, so as to properly get my head around using this Bote Cote epoxy system. I set it up vertically, trying to simulate the actual application conditions, as well as to develop my technique a bit. I don't want the epoxy to flow down too easily, leading to what they call "drain out".


Using the preservative/viscosity additive (called TPRDA), the timber & weave was wet out much more effectively this time. I first wet out the timber, allowed it to soak for a bit, then applied the cloth & wet that out with more epoxy. Once that was allowed to cure for a bit, I applied a thick coat of epoxy (without the TPRDA) to fill the weave and then rolled on the peel ply. I had to work quickly as it was getting late, dark & cold. It took a while to cure (due to the weather being pretty cool & damp) and I haven't sanded the dry panel yet but it seems to have turned out ok so far. Here's a shot of the panel just before I rolled on the peel ply.


I've also spent some time sussing out a long sanding board (called a torture board). I was appalled at their cost, plus the fact that you have to use the more expensive Velcro backed sandpaper sheets with them. So I figured I'd try to make one up for myself. I used a cedar blade & glued a couple of handles on one side. Then I rang around & found a local manufacturer of foam sheet products, from whom I quickly obtained a sheet of evil smelling orange stuff. I glued a strip of this onto the board with some of the elastic glue that was given to me by my brother in law. Finally, I stapled a strip of 80 grit paper & it was ready.


I tried the torture board on the hull but unfortunately it seems too bendy and it doesn't sand evenly. I may try stiffening it up a bit & see if that improves it at all. Otherwise I'll just have to bite the bullet & splurge out on a shop bought one. It's something that I want to get right, because if I can't properly fair up the hull for painting, then it's going to end up looking like shit.

I've also been agonizing over the whole "paint vs clear finish" thing again. Gary Dieriking (the designer) kindly sent me drawings of the canoe, showing the waterlines. The more I analyse them & imagine the finished product, the more I start to think that perhaps dragging the waterline up the stems might result in ruining the apparent lines of the boat. I know that you have to be careful with how you paint a boat, as you can easily create optical illusions which distort it's true shape. Anyway, the matter is still under consideration at this point.

Conscious of time slipping by, I decided to measure out & cut the fiber glass cloth & peel ply in readiness for the actual act of glassing (one day).

Here's the peel ply......


....and here's the plain weave cloth.


One thing that this has shown up, is that I haven't ordered enough fiber glass cloth. There's enough for the outside but not for the inside. No biggie at this point, but I will have to get more.

Other than these little tasks, I have also been sussing out what I'm going to do about building the ama (float). Gary's book recommends to use a ply sheer web with foam blocks glued to each side, which you then shape before glassing. This seems pretty straight forward, except that the cheapest foam quotes so far have come in at $200 to $300. Since I've got some cedar planks left over, I'm now sussing out how I might plank the ama instead. It's harder to do but at least it is possible.

So, that's it for now. Hopefully soon I'll be able to post about making actual progress next time.

Sunday, June 20, 2010

More 80 grit Sanding

Many more hours of sanding on autopilot over the last couple of days, using my Metabo orbital sander (not random) & I thought it was looking pretty good. I had about a quarter of the boat left to do when my good mate Rick (the shipwright, who owns Shapes Shading Solutions & has been an absolute godsend to me on this build) popped in to loan me a proper, industrial strength, variable speed, random orbital sander. I had asked him to just order some paper for my own random orbital sander, but he figured it was just a DIY (non-industrial) type & therefor not up to the task, hence the loan. Here's a photo of his random orbital next to my normal orbital sander.


What a machine. It worked so much quicker & left a much nicer finish, even using the same 80 grit paper. In no time at all, I'd finished the last quarter of the boat and gone right back over the rest again to clean it all up just that bit more. She's now been sanded back as far as I dare with this grit & I'm loving the grain that's been revealed.


The only thing letting the whole job down is the poor finish at the bow & stern, which are now paper thin & definitely can't be sanded any further.


As I was fortunate enough to have Rick at my place, I showed him my progress & asked him for his ideas as to how I might possibly still achieve a clear finish. He agreed that it would be criminal to cover up all that timber and, after mulling it over for a while, said the best option might be to paint a feature strip up from the painted waterline, along the keel edge & sweeping up parallel with the stem, effectively covering the stuffed up bits. This makes lots of sense & I reckon that's just what I'll do. I'm thinking it will look pretty cool if I can integrate some sort of Polynesian pattern/design into it on either side of the bow/stern.

So now I have to fill the slight hollows at the bow/stern, in preparation for fiber glassing. I'm going to try using the Bote-cote glue/filleting powder, so late this afternoon I set up a bit of an experiment, utilising the failed test panel from before. Basically I just stapled a handful of planking offcuts, forming a hollow. I also rigged a piece perpendicularly, so I could see how it goes with forming the fillets for the inner stems, bulkheads, etc.


I started out trying to be all scientific & accurate with measuring the epoxy, hardener & fillet powder, but in the end, it all seemed very random & "pure arsework". Still, it didn't look too bad when I was done.


So now, depending on how this turns out, I'll probably use this stuff to fill the crappy hollows in the ends. I'm also hoping to source a long sanding board, so as to make sure the sides are nice & fair. Then the whole lot gets a final sand with 120 grit & will be ready for....wait for it.... fiber glassing. I'd better hurry up & get that second fiber glassing test panel done.

Thursday, June 17, 2010

Second Sanding at 80 grit

Another couple of days on the sander. I'm going back over the whole hull again with the 80 grit paper, this time really focussing on getting rid of all the glue marks and seeing just how smooth I can get it. I've gotten over three quarters of the whole boat done now, and it's looking great (except for the bow & stern of course). The next couple of photos show the difference between before & after.


Here's some more shots of what I've done so far....


So, making good progress I think. Hopefully I can start looking to fiber glass this weekend (fingers crossed).

Tuesday, June 15, 2010

Outer Stems, Start of Scraping/Sanding Hull

I haven't posted about my progress over the last couple of weeks, mainly because I've been "head down, bum up" trying to make some. It's been the usual roller coaster ride but I'm happy to say that I have at least gotten a little bit of momentum going.

First up, I started sanding the other side of the bow with the 40 grit (which is a similar texture to asphalt). It did rip through quite fast, so I tried to maintain some sort of control with it.


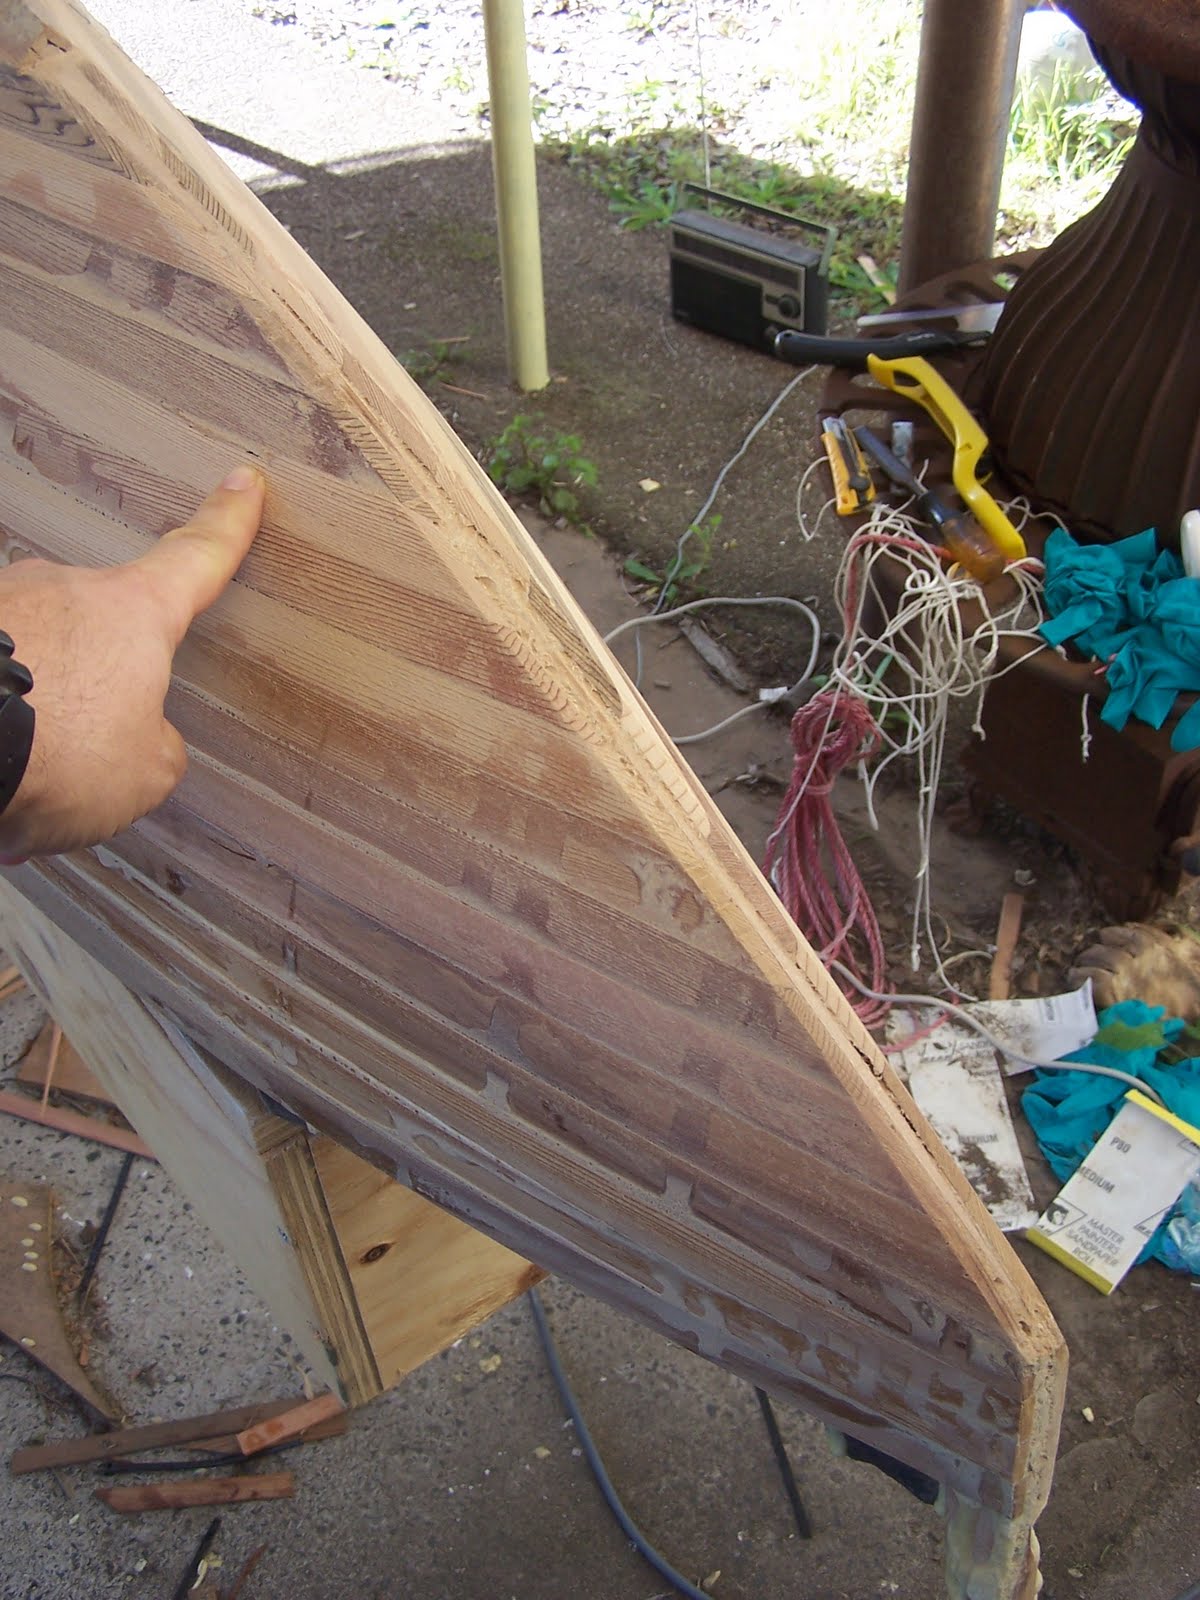
It's a good thing I did, because before long I started to grind right through the hull. In the photo below, I'm pointing to the spot where it's paper thin & there's a tiny hole. At least I can fix this, since there's going to be a fillet connecting the inner stem through this area, which should reinforce it ok.


This was a serious set back. This bit was the first part where the planks were a bit staggered, forming almost a clinker finish. The stern area is much worse. I was hoping that I could sand it out, but obviously there just isn't enough meat in the hull to do that. It seems that by using the convenient (& cheaper) thinner 4 mm planks instead of 6 mm, your planking job must be that much more accurate (which mine definitely isn't). My only option now is to use fairing paste all over, meaning that I can't have a clear timber finish. Bugger! It's also going to be interesting, trying to sand the glue runs in all the stepped bits. Can you fair straight over dried glue?

Anyway, moving on, it was time to laminate up the outer stems. Below is the stern with the outer stem components laid out ready.


I glued the vertical sections first & used tape to hold them in place. Could've used an extra six pair of hands (bloody fiddly).


With that done, I then went and pulled out all of the staples (yes, there actually was about 2, 500 of them).

Once the glue had dried, I removed the tape and started fitting the longer sections of the outer stems.


I pretty much tailor fitted each long lamination in the outer stems, allowing for the different angles & bevels, striving for as perfect a fit as I could. Once again, the trusty sanding station proved it's worth it's weight in gold.


Another 10, 000 liters of glue & it was job done.


Again, I used tape to secure it all.


After it all dried, I remove the tape & trimmed the excess lengths. Note the Christmas pudding effect of the glue on my nicely sanded planking.


Next, it was time to roughly shape the new outer stems. I tried the surform & found it to be the perfect tool. It was so easy to control & I had the stems shaped down real quick. Very pleasant to use. The angle of the sun in this photo really show the extent of the edge-set of the planks in the stern.


Those jobs done, it was finally time to tackle the monotonous, mind numbing task of scraping all of those ridiculous tonnes of glue off. The shot below shows how bad it looked.


Living within my happy place, I stuck at it for days. I found a wide, flat chisel the best tool for this job, although you have to be careful not to let the blade tilt at all, causing it to gouge vast, ugly furrows into your planking, whilst in a glazed-eyed daze.

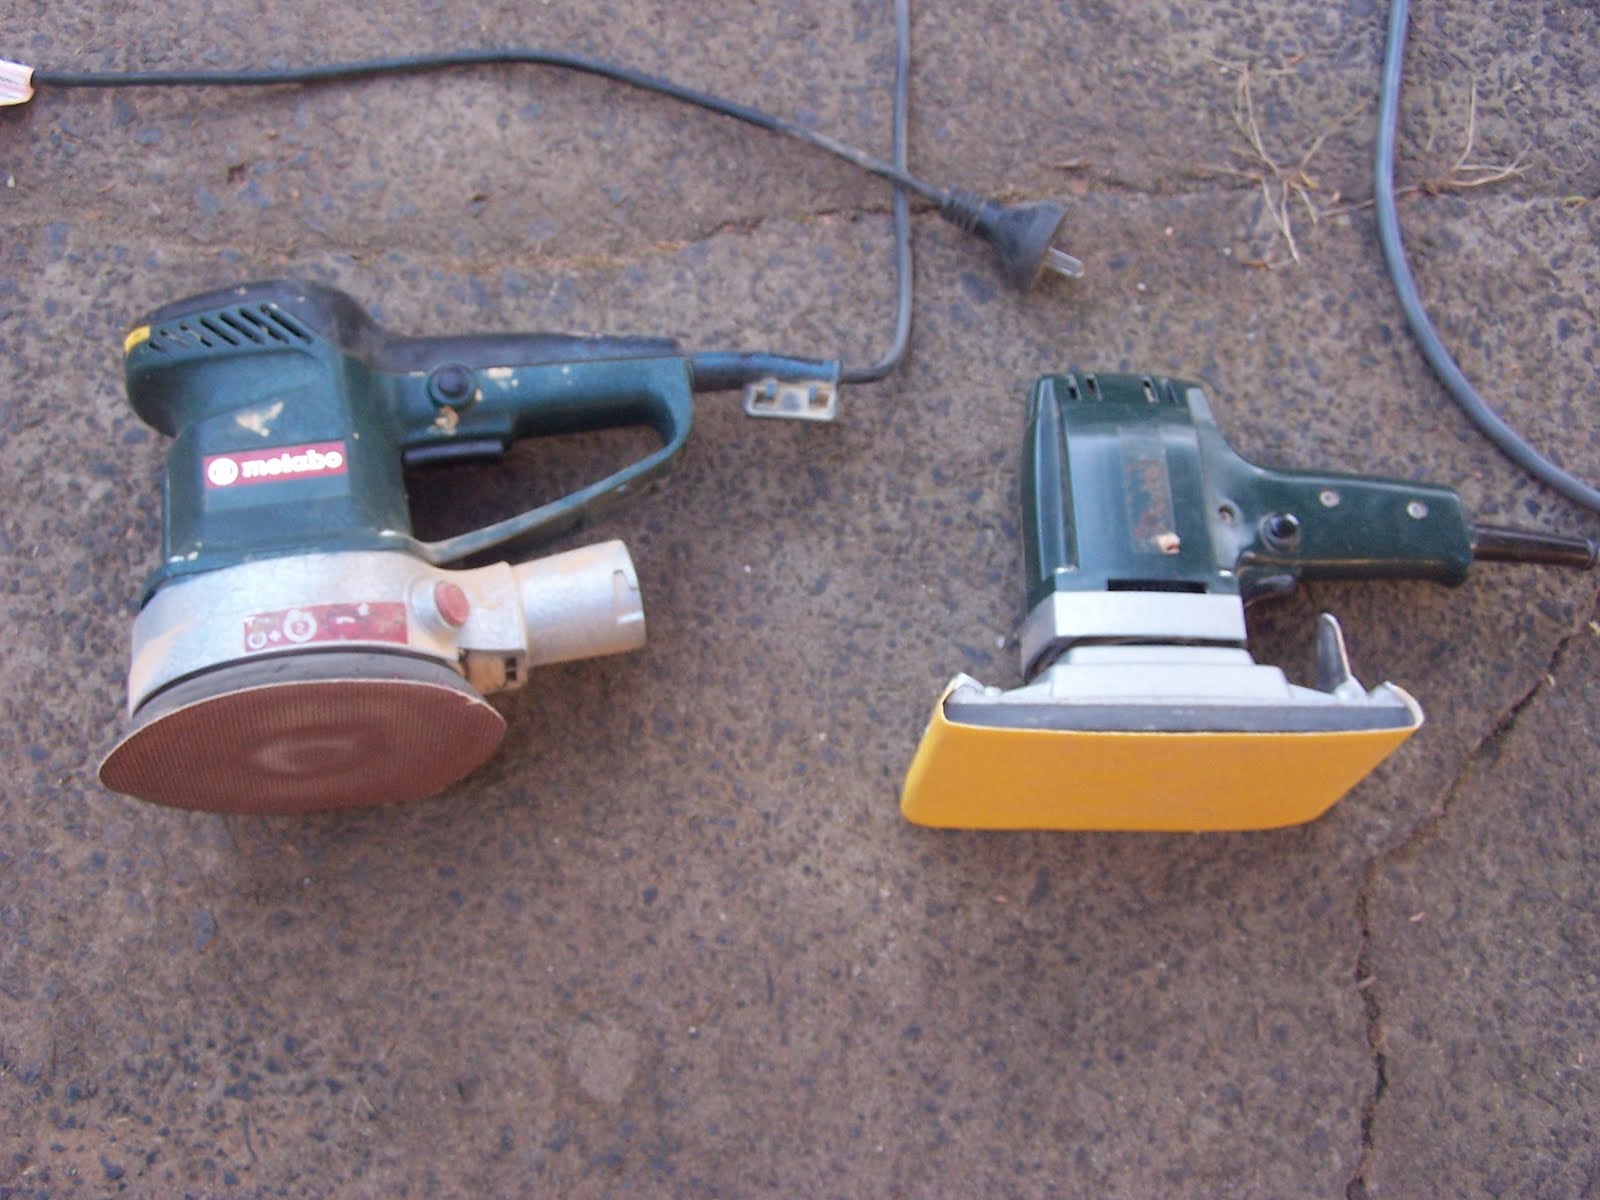
Anyway, after a couple of (long) day's work, I finally finished. Any fleeting feelings of pride & satisfaction were quickly dispelled when I suddenly realised that I now had the totally exciting prospect of commencing sanding. I set up with 80 grit paper on my orbital sander & just jumped right in. I'm currently up to about two thirds of the way down both sides (starting from the stern).

You probably can't see too much difference in the photos below, but it looks way better. There's still lots of glue runs in between the stepped plank edges (as expected), which confirms what a truly crap job I did with the planking, however, never underestimate my ability to bodge a job up so it looks good.

Starboard side from astern, before...


and after.


And the port side, before......


and after.


The photos below show the worst of the hollows & plank misalignment in the stern. I'm going to need an arse-load of fairing paste to make this lot look good again.


So, there you go. You're up to date. I've got a little bit of time off, so I'm going to try & fit as much in as I can (around the usual interruptions of course). I'm very keen to get this thing fiber-glassed & faired asap. I'll try not to leave it so long before posing next time (this lot has taken ages).