Sunday, June 20, 2010

More 80 grit Sanding

Many more hours of sanding on autopilot over the last couple of days, using my Metabo orbital sander (not random) & I thought it was looking pretty good. I had about a quarter of the boat left to do when my good mate Rick (the shipwright, who owns Shapes Shading Solutions & has been an absolute godsend to me on this build) popped in to loan me a proper, industrial strength, variable speed, random orbital sander. I had asked him to just order some paper for my own random orbital sander, but he figured it was just a DIY (non-industrial) type & therefor not up to the task, hence the loan. Here's a photo of his random orbital next to my normal orbital sander.


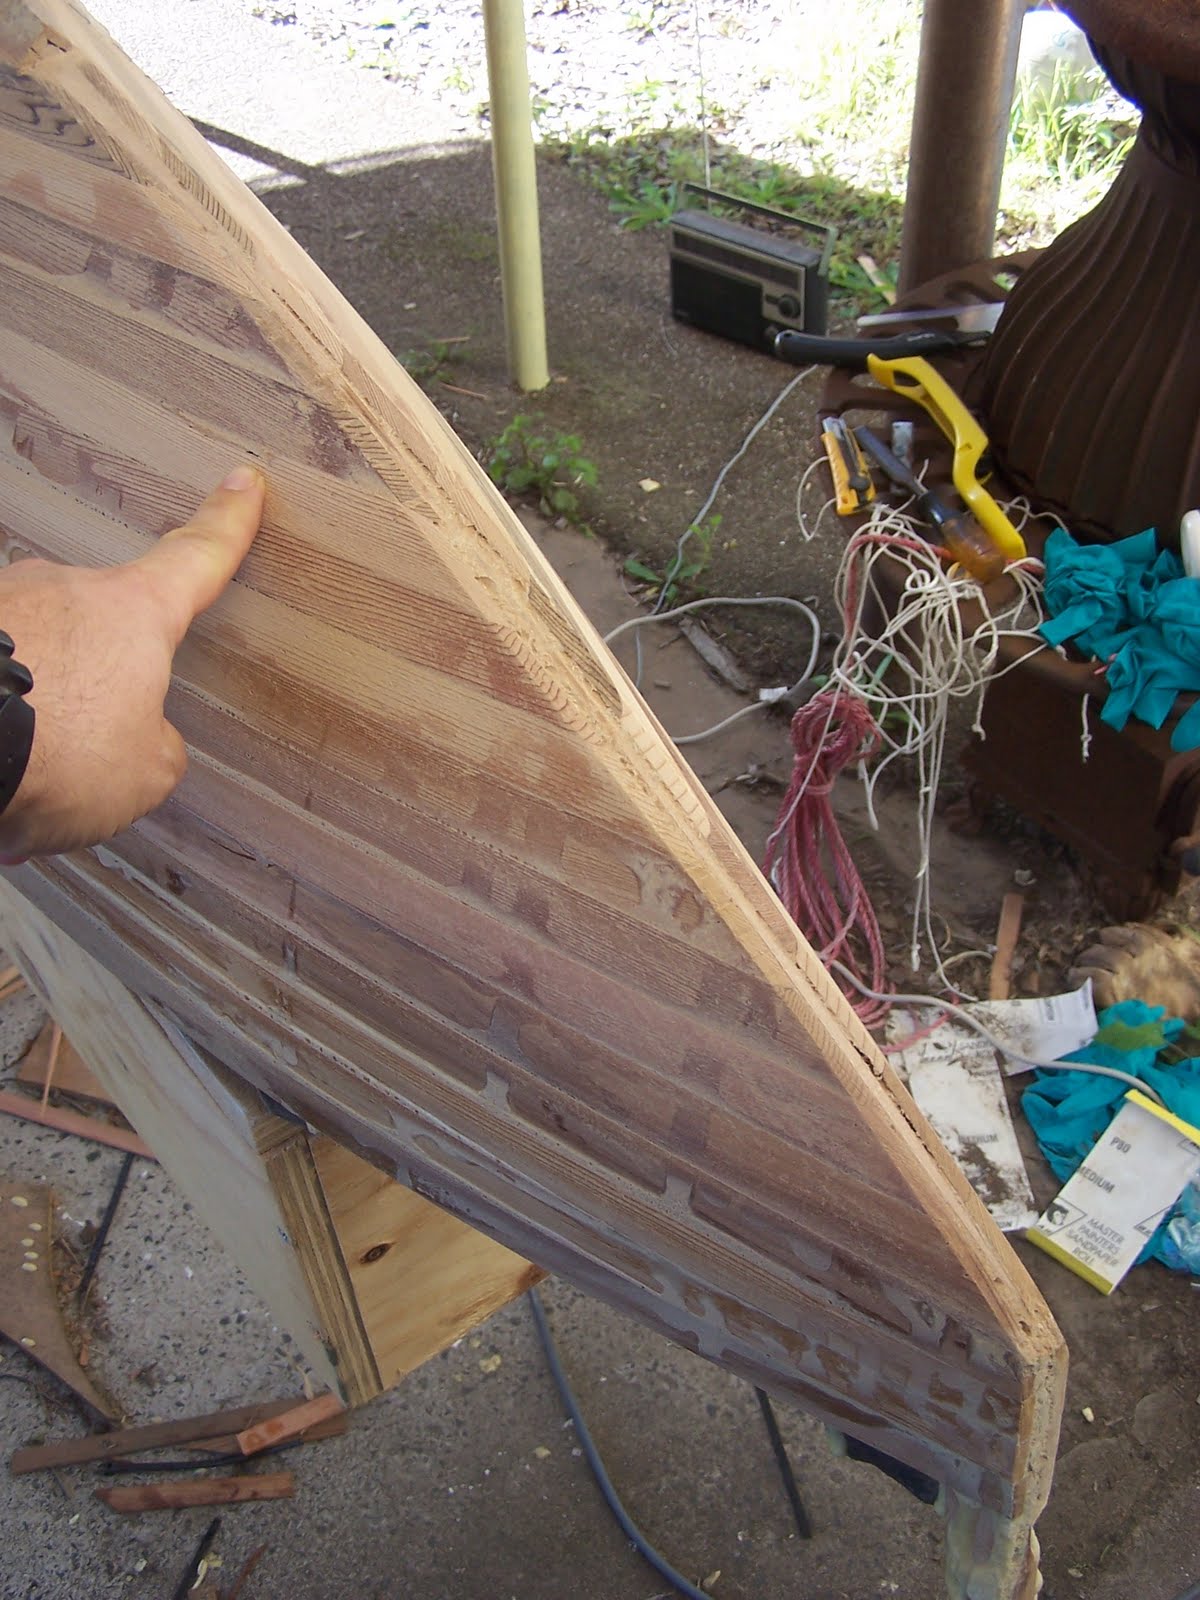
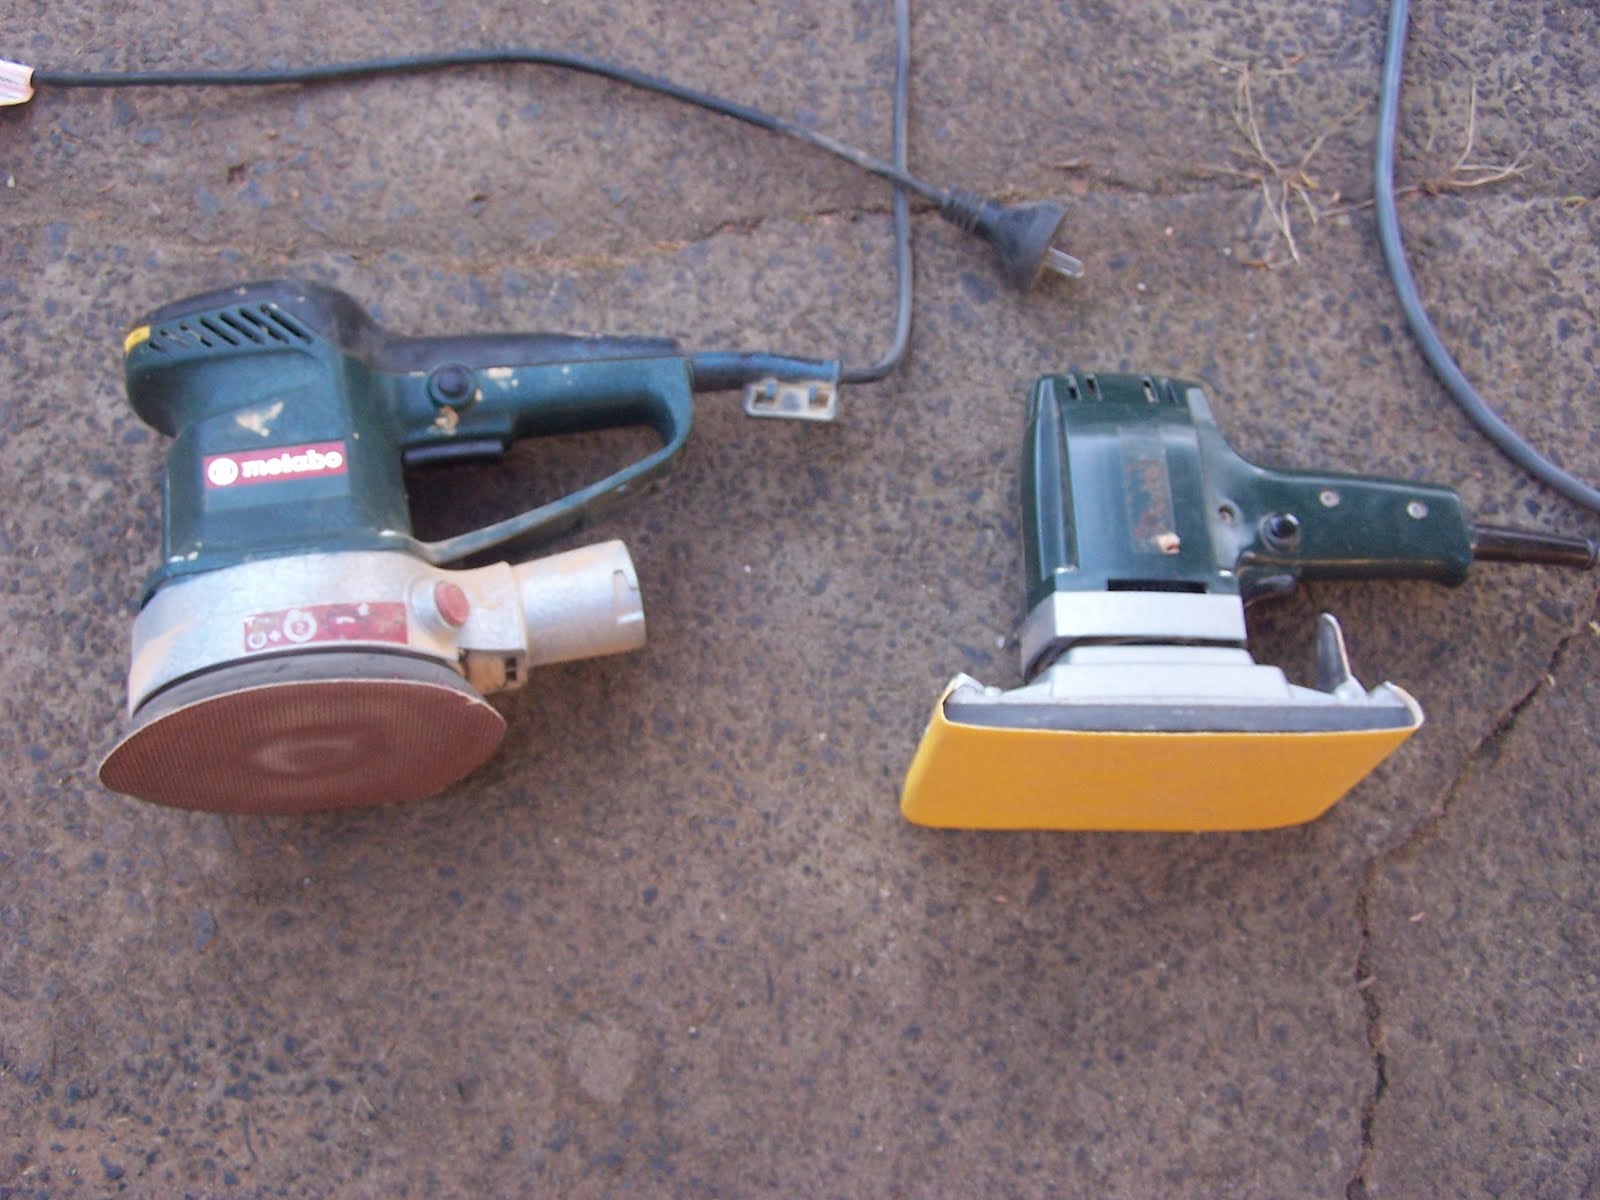
What a machine. It worked so much quicker & left a much nicer finish, even using the same 80 grit paper. In no time at all, I'd finished the last quarter of the boat and gone right back over the rest again to clean it all up just that bit more. She's now been sanded back as far as I dare with this grit & I'm loving the grain that's been revealed.


The only thing letting the whole job down is the poor finish at the bow & stern, which are now paper thin & definitely can't be sanded any further.


As I was fortunate enough to have Rick at my place, I showed him my progress & asked him for his ideas as to how I might possibly still achieve a clear finish. He agreed that it would be criminal to cover up all that timber and, after mulling it over for a while, said the best option might be to paint a feature strip up from the painted waterline, along the keel edge & sweeping up parallel with the stem, effectively covering the stuffed up bits. This makes lots of sense & I reckon that's just what I'll do. I'm thinking it will look pretty cool if I can integrate some sort of Polynesian pattern/design into it on either side of the bow/stern.

So now I have to fill the slight hollows at the bow/stern, in preparation for fiber glassing. I'm going to try using the Bote-cote glue/filleting powder, so late this afternoon I set up a bit of an experiment, utilising the failed test panel from before. Basically I just stapled a handful of planking offcuts, forming a hollow. I also rigged a piece perpendicularly, so I could see how it goes with forming the fillets for the inner stems, bulkheads, etc.


I started out trying to be all scientific & accurate with measuring the epoxy, hardener & fillet powder, but in the end, it all seemed very random & "pure arsework". Still, it didn't look too bad when I was done.


So now, depending on how this turns out, I'll probably use this stuff to fill the crappy hollows in the ends. I'm also hoping to source a long sanding board, so as to make sure the sides are nice & fair. Then the whole lot gets a final sand with 120 grit & will be ready for....wait for it.... fiber glassing. I'd better hurry up & get that second fiber glassing test panel done.

Thursday, June 17, 2010

Second Sanding at 80 grit

Another couple of days on the sander. I'm going back over the whole hull again with the 80 grit paper, this time really focussing on getting rid of all the glue marks and seeing just how smooth I can get it. I've gotten over three quarters of the whole boat done now, and it's looking great (except for the bow & stern of course). The next couple of photos show the difference between before & after.


Here's some more shots of what I've done so far....


So, making good progress I think. Hopefully I can start looking to fiber glass this weekend (fingers crossed).

Tuesday, June 15, 2010

Outer Stems, Start of Scraping/Sanding Hull

I haven't posted about my progress over the last couple of weeks, mainly because I've been "head down, bum up" trying to make some. It's been the usual roller coaster ride but I'm happy to say that I have at least gotten a little bit of momentum going.

First up, I started sanding the other side of the bow with the 40 grit (which is a similar texture to asphalt). It did rip through quite fast, so I tried to maintain some sort of control with it.


It's a good thing I did, because before long I started to grind right through the hull. In the photo below, I'm pointing to the spot where it's paper thin & there's a tiny hole. At least I can fix this, since there's going to be a fillet connecting the inner stem through this area, which should reinforce it ok.


This was a serious set back. This bit was the first part where the planks were a bit staggered, forming almost a clinker finish. The stern area is much worse. I was hoping that I could sand it out, but obviously there just isn't enough meat in the hull to do that. It seems that by using the convenient (& cheaper) thinner 4 mm planks instead of 6 mm, your planking job must be that much more accurate (which mine definitely isn't). My only option now is to use fairing paste all over, meaning that I can't have a clear timber finish. Bugger! It's also going to be interesting, trying to sand the glue runs in all the stepped bits. Can you fair straight over dried glue?

Anyway, moving on, it was time to laminate up the outer stems. Below is the stern with the outer stem components laid out ready.


I glued the vertical sections first & used tape to hold them in place. Could've used an extra six pair of hands (bloody fiddly).


With that done, I then went and pulled out all of the staples (yes, there actually was about 2, 500 of them).

Once the glue had dried, I removed the tape and started fitting the longer sections of the outer stems.


I pretty much tailor fitted each long lamination in the outer stems, allowing for the different angles & bevels, striving for as perfect a fit as I could. Once again, the trusty sanding station proved it's worth it's weight in gold.


Another 10, 000 liters of glue & it was job done.


Again, I used tape to secure it all.


After it all dried, I remove the tape & trimmed the excess lengths. Note the Christmas pudding effect of the glue on my nicely sanded planking.


Next, it was time to roughly shape the new outer stems. I tried the surform & found it to be the perfect tool. It was so easy to control & I had the stems shaped down real quick. Very pleasant to use. The angle of the sun in this photo really show the extent of the edge-set of the planks in the stern.


Those jobs done, it was finally time to tackle the monotonous, mind numbing task of scraping all of those ridiculous tonnes of glue off. The shot below shows how bad it looked.


Living within my happy place, I stuck at it for days. I found a wide, flat chisel the best tool for this job, although you have to be careful not to let the blade tilt at all, causing it to gouge vast, ugly furrows into your planking, whilst in a glazed-eyed daze.

Anyway, after a couple of (long) day's work, I finally finished. Any fleeting feelings of pride & satisfaction were quickly dispelled when I suddenly realised that I now had the totally exciting prospect of commencing sanding. I set up with 80 grit paper on my orbital sander & just jumped right in. I'm currently up to about two thirds of the way down both sides (starting from the stern).

You probably can't see too much difference in the photos below, but it looks way better. There's still lots of glue runs in between the stepped plank edges (as expected), which confirms what a truly crap job I did with the planking, however, never underestimate my ability to bodge a job up so it looks good.

Starboard side from astern, before...


and after.


And the port side, before......


and after.


The photos below show the worst of the hollows & plank misalignment in the stern. I'm going to need an arse-load of fairing paste to make this lot look good again.


So, there you go. You're up to date. I've got a little bit of time off, so I'm going to try & fit as much in as I can (around the usual interruptions of course). I'm very keen to get this thing fiber-glassed & faired asap. I'll try not to leave it so long before posing next time (this lot has taken ages).

Friday, June 4, 2010

Planking Finished

Well, believe it or not, on Wednesday I finally finished fitting all of the hull planks. The last few were really fiddly & I had to pull out all of the big guns (see photo below).


These photos show how fine the last planks on each side were. I'm a bit worried that they were different sizes (just how asymmetrical is this hull?).


Ta daaa. Doesn't look too bad I think. We'll see once I get all that glue stripped off though.


The next steps are to laminate both outer stems & shape them in to the hull, remove all of the approx 2, 500 staples and sand/fair the whole hull exterior, prior to epoxy glassing.

Yesterday I got stuck into pulling out the staples around the bow area. I found the best way was to place an old scraper next to/underneath a staple, then slip/wriggle an old skinny chisel under the staple. Once the staple moved a bit & I could get a good grip with some pliers, I'd just pull it straight out.

Then I started trying to strip some glue back before sanding. Although the surform is ok, I found a sharpish flat chisel best but I did have to control myself. A couple of times I got carried away, slipped & started gouging the planking, but it's not too bad. Once I'd gotten as much of the glue off as I could, I began sanding with some 80 grit paper on my orbital sander (soft rubber backing pad). This did a good job, although it was pretty slow going & I quickly chewed through my small stock of paper. I've got to say, I'm pretty excited at the sight of the grain coming through now. The photo below shows how it's looking. There are numerous gaps that will need filling & the area still requires more sanding, but if the rest of the hull looks this good then there should be no problem with having it left showing and it should all look shit hot. Fingers crossed.


Back I went to Bunnings for more sandpaper, but this time I got a 15mtr roll of 40 grit. Hopefully this coarser paper should rip through the rest of it quickly.

The weather lately has been pretty miserable, but at least it hasn't held me up too much. That changed this morning, it's pissed down all day. In future, I will only build inside properly enclosed shelter. I can't tell you how frustrating it is to finally be making progress, only to be held up by inclement weather again.