Well, it's been another productive month, despite the pre-Christmas preparations, crap weather and various other distractions. I'm happy to say that my goal of getting the canoe completed to fill/fairing stage before Christamas is almost on track.
Here's a quick run-down on the fun and games so far:
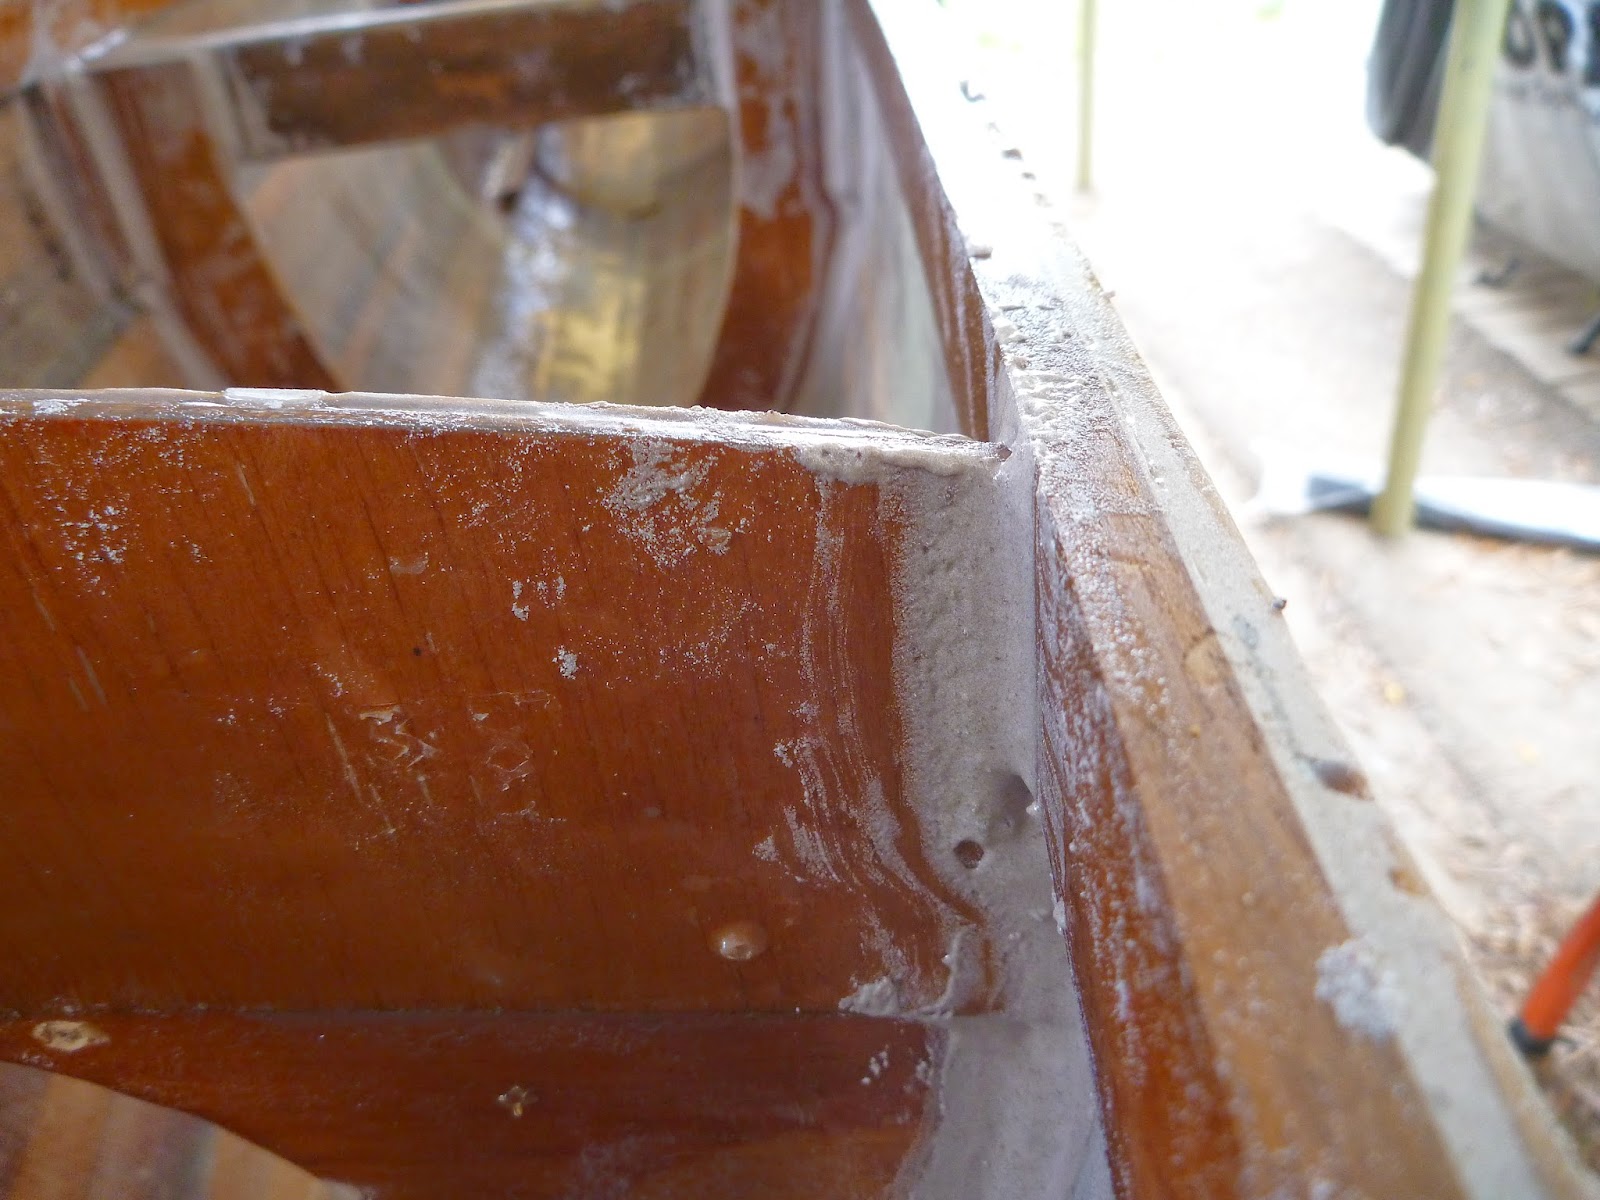
Firstly I resolved to fill the cavities in the bow and stern, around the new breasthooks. I plugged underneath with masking tape and filled with epoxy/glue filler.


Then I cleaned out the dill holes for my adjustable rear seat. I couldn't fit the drill here (the chuck hit the inner gunnel), so I patiently turned the drill bit with a pair of pliers.

A bit tight in places but all seems good now.

Next I had a go at clearing out the epoxy runs underneath the foot brace rails. Bloody awkward to get to, and I have to be carefull not to damage the hull (can't see what I'm doing under there). I messed around with this for ages, but eventually decided to finish it off later. Other tasks were beckoning.

My main urge was to get the decks built anyway. I elected to strip plank these, and leave them varnished if possible. They're to have a slight camber, which I carefully measured and marked off. With the temporary deck beams roughly cut to size and shape, I went to sand them down accurately on my trusty sanding machine. But disaster awaited. The machine, which has has served me so well during this whole build, had died. I pulled it apart with the hope that it might be a minor problem, but alas it seems terminal. I think its a transformer winding, and I don't have the time nor money to sort it out. Bugger!

So it was down to laborius hand sanding. This took ages, and the result turned out nowhere near as perfect as I'd hoped, but I've adopted the mentality that finished is much better than perfect.

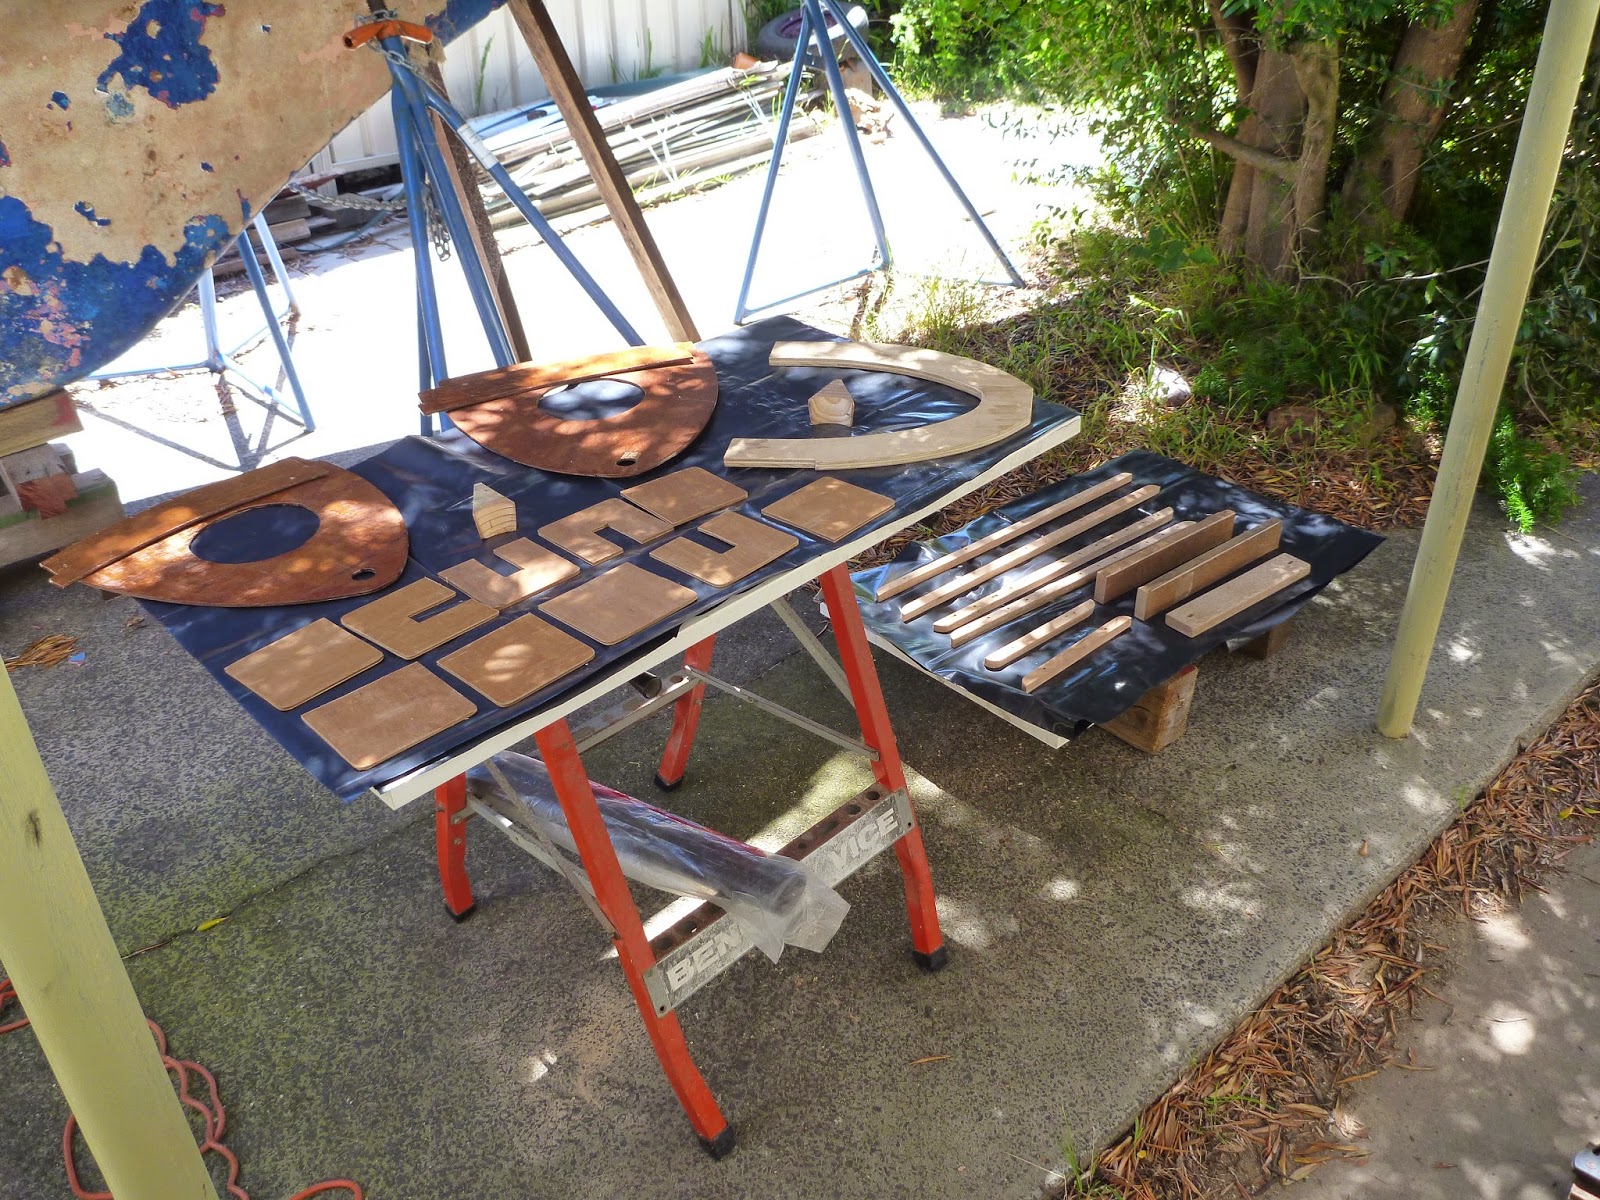
Then I climbed underneath our house and dragged out the last of my cut and edged red cedar strips, which were left over from planking the hull a few years ago (kindly donated by my mate Rick - top bloke). They're a bit grubby, but they fared surprisingly well.


The quantity of cedar was spot on too, with exactly the right amount to plank both decks.

In Gary's build instructions, he says to cut the hull/inner gunnel to receive the decks, so that they sit flush. I was reluctant to do this because: 1. I didn't think the decks would be very thick, and 2. I was worried about stuffing it up. So I took the chicken-shit option of just bevelling the outside edges all round.


Then I got stuck into the fun part - strip planking.


And they sanded up nicely too.

Then it was time to grapple with my nemisis - fiberglassing. Its important to get it right this time too, because I really want to be able to leave it clear. Its a shame to cover up the beautiful timber in the hull because of my frankensteinish glassing earlier. At least the surfaces would be horizontal this time, which was half the problem with glassing the hull. I even figured I'd try that seemingly evil stuff - peel ply.

I'm stoked to say that this time everything went really well. I got a nice, even lamination all over both decks and the peel ply was very well behaved. Phew!

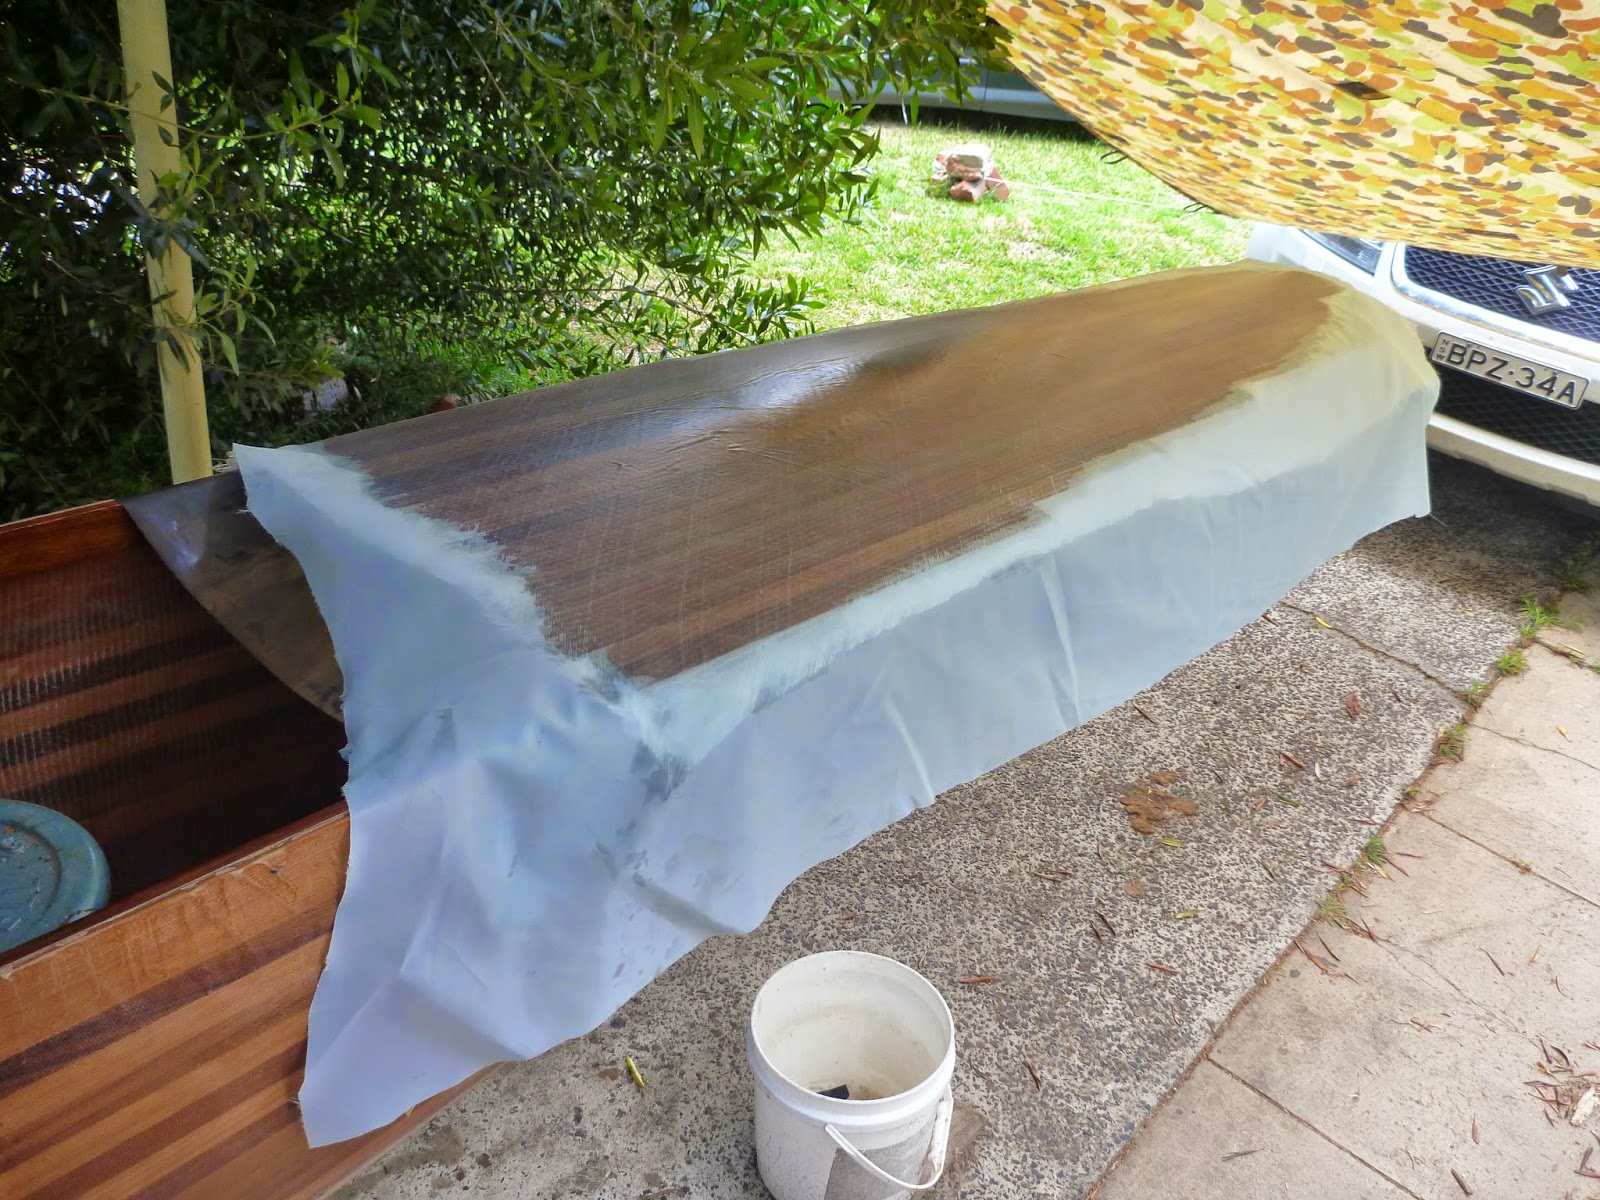
Removing the peel ply left a predictably rough surface, which should come up fine with a fill coat of epoxy, and should look unreal after a coat of polyurethane and varnish. Happy days.

Time to do the under sides of the decks. After a quick sand/clean up, I made up some rudimentary braces to cradle the upturned decks and glassed in the same way.


Once again, it proved to be a textbook fiberglassing operation and I'm happy with the results.

After the deks had properly cured, I roughly trimmed and got them ready to fit.

My cowardly hopes of getting away with just a slight bevelling of the hull edges turned out to be misplaced. The hull definitly needs to be trimmed to receive the decks, otherwise they'll look crap.

I very carefully measured out the appropriate line and marked it up.


I clamped a batten along the cut line for a guide, then I attacked my nice hull with a Japanese Pull Saw
*Tip for Newbies: don't hold this batten with your unprotected fingers/thumb just in front of the saw blade whilst cutting (I won't tell you how I learned this, but suffice to say that a bit more of my blood has now been added to the sweat and tears already infused into this boat).
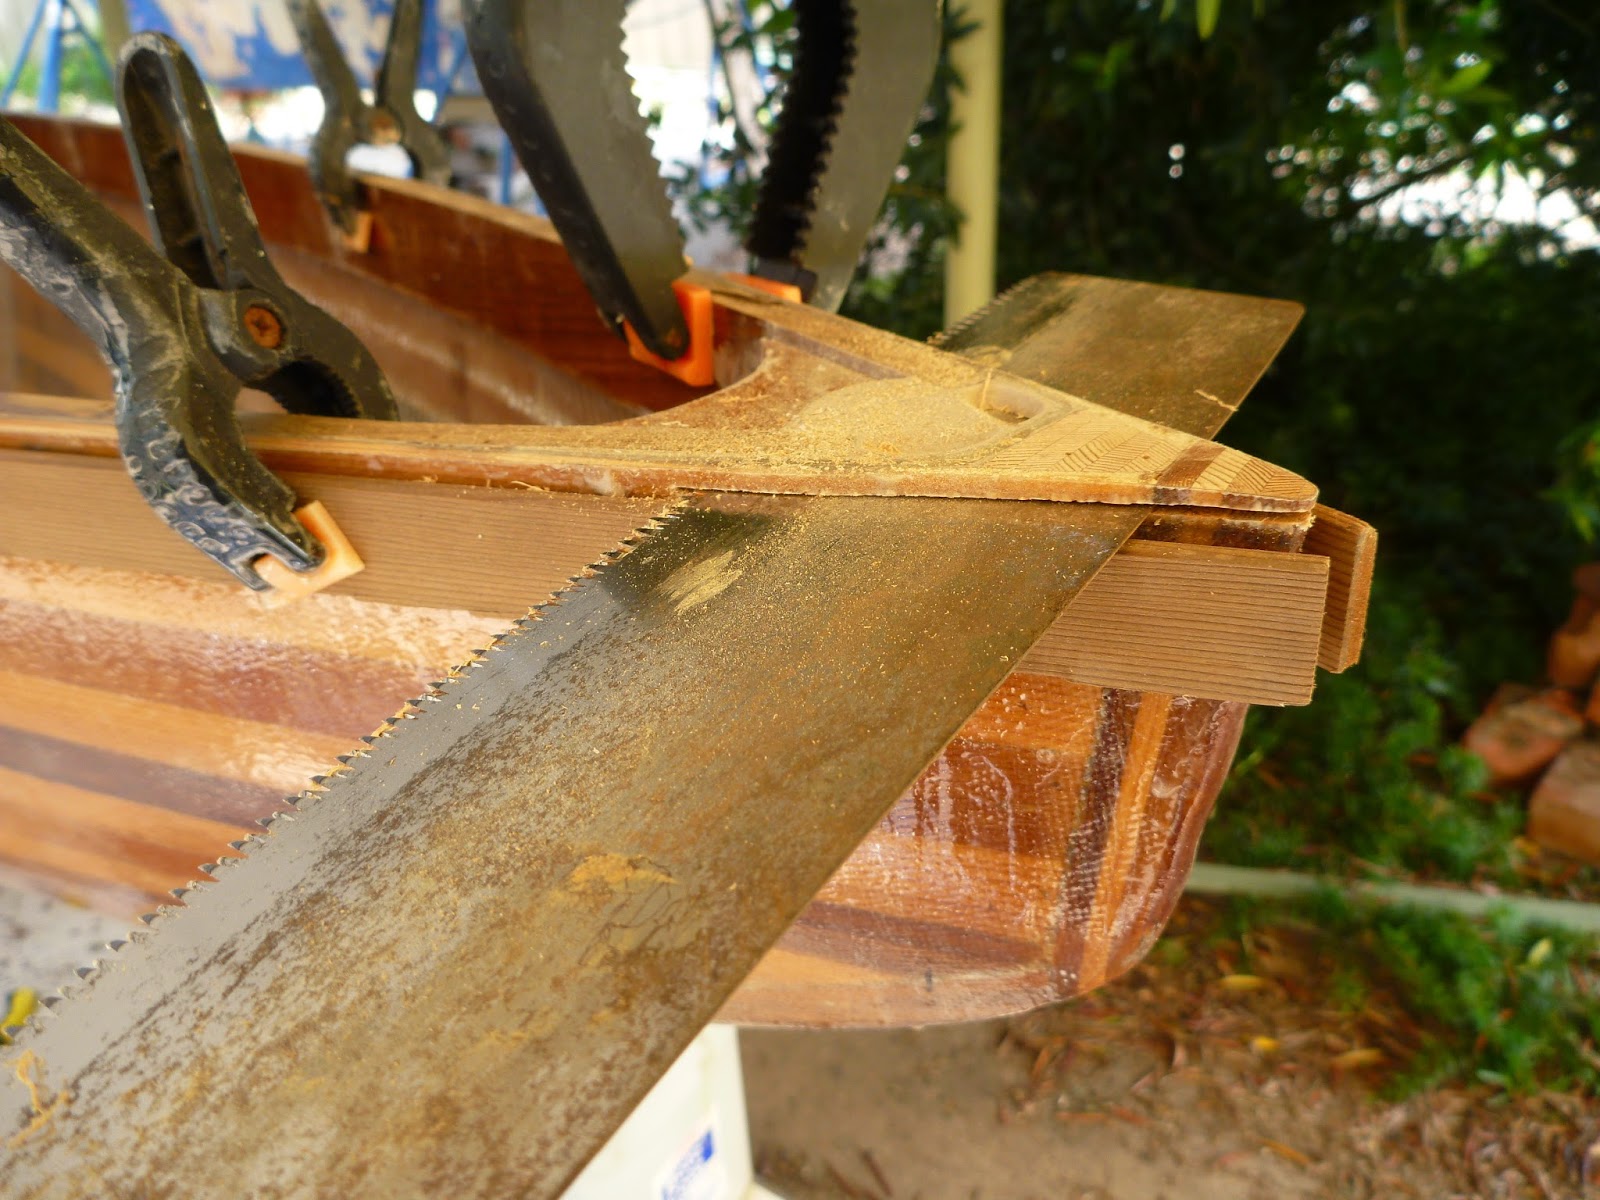
It took a while but its all done, and the decks now fit nicely.

The dropped breasthooks even sit properly now.

Before I can attach the decks permanently, I had to fit the inspection ports and bungs into the water-tight bulkheads. I used a small tube of Sika bedding compound/adhesive for this. Its pretty thick stuff and sticks like shit to a blanket, but looks like it should block any water from getting in.


So now the decks are ready for mounting and final trimming. Unfortunately I've run out of time before the Christmas/New Year's madness, but I'm happy to have largely acheived my goal. I don't want to rush the fitting of these decks, in case I botch it. Another couple weeks won't matter that much after all this time, LOL.
Anyway, here's a few shots to show how she's coming along. I think she's starting to look like an actual boat now.


Don't worry about those little stick things laying accross the hull. They're for a little experiment I'm planning. Hopefully more on that later.


So there you go. I'm looking forward to making loads more progress in the new year, and am eager to perhaps finally launch her before Autumn kicks in (fingers crossed).
Anyway, thanks for checking this blog out and I hope you all have a great Christmas and New Year. Catch you in 2015.